Febco Backflow Preventer Distributor (17 items)
raptor logo

Strictly Necessary Cookies

Always Active

These cookies make our website work. They include logging personal details, like login/sign-up or account data, browser information, images & videos, and shopping cart journey.

In addition, we use optimization cookies to test new features and designs on our website. The information collected helps us improve our website and customers' experience.

Advertising

These cookies are used to understand the performance and relevancy of our adverts, to provide you with personalised adverts on other websites and social media, to track when you have arrived at our site from a recognised third-party affiliate website, and to track if you made a purchase based on the adverts we displayed to you.

recommendations

These cookies enable us to provide personalised product and content recommendations, to make the browsing experience more relevant to you.

Functional

These cookies are used to offer customer surveys and feedback, to improve search results, and to allow you to share content from our website on social media.

analysis

These cookies help us improve our website by collecting and reporting information on how you use it.

We are closed from Monday, Dec 23rd and will reopen on Monday, Jan 6th. Any orders received during this time will be processed in the New Year.

FEBCO

Febco, a Watts brand, is a global manufacturer of backflow prevention assemblies and flow control valves for municipalities and water authorities. Febco is headquartered in North Andover, Massachusetts, United States. Read More

About Febco

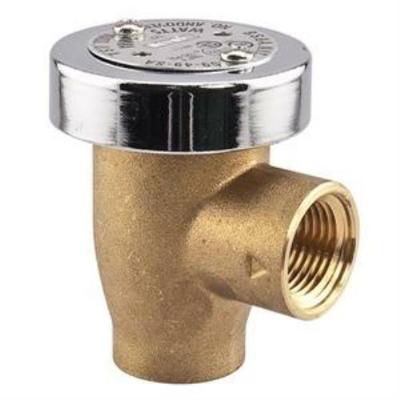
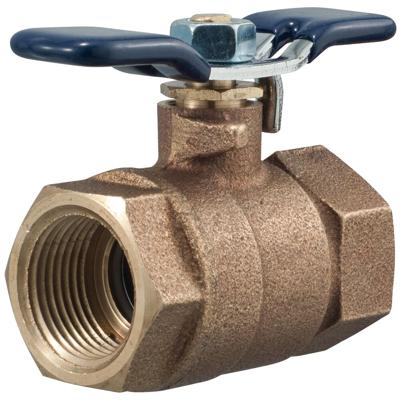
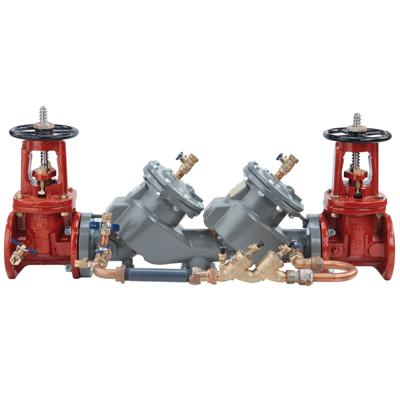
Its extensive catalogue includes pressure vacuum breakers, double-check valves, reduced pressure zone assemblies, strainers, wall hydrants, ball valves, repair kits and related accessories. Febco's backflow preventers are designed to prevent the reverse flow of toxic fluids from entering into the potable water supply due to back-siphonage or back-pressure. They feature a bronze body for durability, threaded quarter-turn ball valves for controlling water flow, top-mounted test cocks for periodic testing & maintenance, spring-loaded check valves for preventing backflow and a pressure differential relief valve for relieving excess pressure buildup. The brand's Y-pattern strainers are installed in water piping systems to capture solid particles from flowing water and prevent damage to backflow preventers. They have recessed screen seats to assure accurate screen alignment and are available in inlet sizes ranging from 2-1/2 to 10 inches.

Things to Consider

Cross-Reference Alternatives

Febco MPNs cross individual references to the equivalent Apollo and Watts model numbers for backflow preventers, strainers and accessories. So, if you're looking for a competitor item that is either out of stock or obsolete, chances are Raptor Supplies has the equivalent Febco products available.

Shipping

These Febco products range from small to large sizes. They may require careful packaging as some items might get damaged while shipping. Hence, these items are delivered by courier shipment and air freight for minimum downtime.

Major Trade Names

Febco Competitive Advantages

SentryPlus Alert Technology

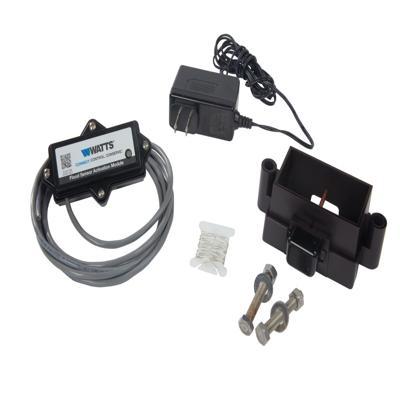
This technology is used for providing automatic flood detection on backflow preventer assemblies and signalling excessive relive valve discharge that could cause severe damage. This technology is used by Febco MasterSeries backflow preventers with an integrated flood sensor that allows a multichannel alert function triggering one or more notification methods for quick action. This sensor is designed to continuously monitor for potential flood conditions. The SentryPlus alert system can be integrated into the existing backflow preventer without taking it off the line, thus preventing downtime and reducing labour costs.

Frequently Asked Questions

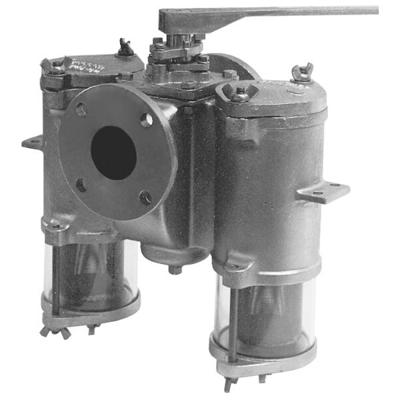
How does a duplex strainer work?

  • Turn the handle to the centre directly over the inlet. Now open pet cocks on both basket covers.
  • Slowly fill the chambers with line fluid. Close pet cocks when fluid starts to flow from them.
  • Allow the system to gradually reach normal operating pressure and temperature. Check for leaks at this time.
  • Make sure that all basket cover knobs and bolts are securely tightened.
  • Rotate the handle until it directly comes over one of the chambers. Avoid leaving the handle in the centre position, or both baskets will become clogged, requiring the system to be shut down for cleaning.

How to clean the strainer?

  • Open pet cock on the clean chamber.
  • Slowly allow the liquid to flow into the clean chamber by turning the diverter handle to the halfway position.
  • When the liquid starts flowing from the pet cock, close it.
  • Examine clean chamber for leaks. If leakage occurs, turn the diverter handle back to its position. Vent and drain the clean chamber, remove the cover, fix the cause of leakage and replace the cover.
  • Now slowly shift flow to the clean chamber by rotating the diverter handle over the clean chamber. Check again for any sign of leakage.
  • Open pet cock slowly on the dirty chamber.
  • Open the drain plug on the dirty chamber and allow the liquid to drain.
  • When the liquid level is below the top of the strainer basket, close the drain plug.
  • Remove the strainer basket and allow the liquid to drip into the strainer body.
  • Clean the basket and examine for damage. Reinstall the basket after cleaning.
  • Reinstall the secure cover.
  • Shift the diverter handle back toward the centre position.
  • As the liquid flows from the pet cock, close it.
  • Test for any leakage. If found, follow the above-mentioned steps to fix the problem.

How to install the flood sensor to the backflow relief valve?

  • Position the flood sensor on the relief valve.
  • For each side of the sensor, put the washer on the head of the bolt, thread the bolt from the bottom, and hand tighten the nut to the bolt.
  • Use the two wrenches to tighten the hardware securing the sensor to the valve.
  • Remove the dust cover from the sensor.
  • Press the sensor activation module onto the sensor.
  • Check that the module is fully seated to seal the O-ring and create electrical contact.